
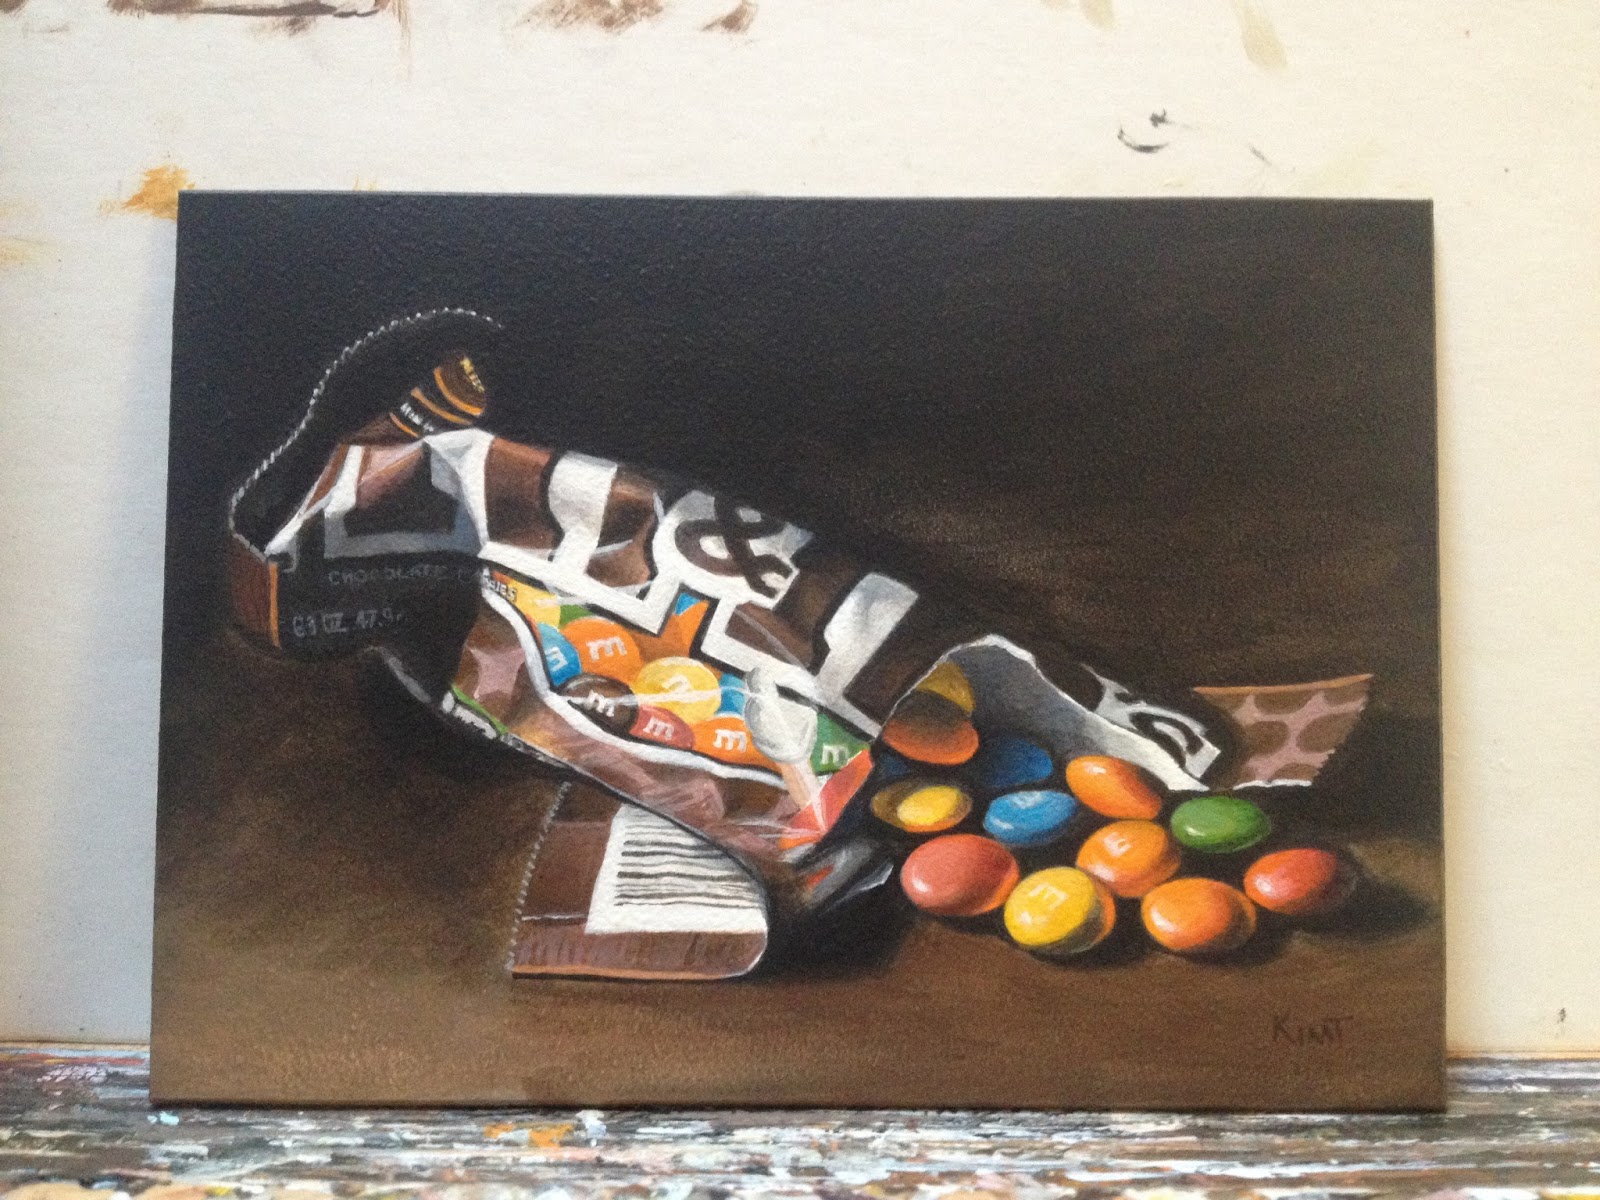
"Dramatic M & M's," acrylic on panel, 5" x 7"
Why not just use watercolor? For me, using acrylic like this has many advantages, including the ability to paint more opaquely when needed and keep layering without worrying about previous layers being lifted (you still have to wait till the layers dry, but it doesn't take very long). Yet I still get the softness of watercolor on my edges if I want them, and I don't have to worry about the workability of the acrylic paint, like the dreaded "tacking up" feel of acrylic in the drying process.
If you are interested in exploring this style of painting after reviewing the step-by-step photos below, I recommend the book "Acrylics The Watercolor Alternative" by Charles Harrington, which really opened my eyes to the flexibility of watering down acrylic paints. Enjoy!


2. It's easy to rush past this step and head straight for the color, but it makes things far easier and faster later if you get the dark shapes pretty clearly established first.

3. I always use a pretty limited palette. To begin establishing my "brownish" colors, I used Raw Umber tinted with various amounts of Napathol Red, Cadmium Orange, Cadmium Yellow or Ultramarine Blue. I do sparingly mix titanium white in at this stage if needed (like on the package), but I try to minimize its necessity.


5. Adding bits of color and continuing to refine the surrounding areas.

6. In total, this piece took about 8 hours to complete. Thanks for looking!


