
 |
| "Bread with Strawberry Jam," acrylic on panel, 12" x 16" by Kim Testone. |
When you are making the transition from the lush workability of oil paints to the seemingly stiff tackiness of acrylic paints, it can be frustrating. One thing that I was particularly frustrated with was the fact that the paint on my palette kept drying out or getting that skin over the top after just a couple of hours, or less, so I'd end up throwing lots of acrylic paint away during and after each painting session.
There were several acrylic palette solutions that I was introduced to in college, and years later, all of which I now consider to be really bad in terms of keeping my acrylic paints wet and workable. In college, my professors recommended a gessoed piece of birch panel - but think about that. If you are using a gessoed surface, or any kind of moderately absorbent surface, the moisture from your acrylics will get sucked out as much as it would on your painting surface. I wasted board after board of dried paint in college.
Years later, I tried paper plates - which I'm sure you've guessed is bad for exactly the same reason. All of the moisture gets absorbed into the plate in no time. And although styrofoam plates are slightly better, the paint still dries out more quickly than I'd like. Plus, I don't enjoy going through hoards of plates, and I have no working space to mix my colors and mediums.
I wanted to be able to work as I did when I was an oil painter, so when I started to make my transition from oils to acrylics a few years ago, I used the same palette I did with my oils (cleaned up well, of course) - a Masterson Sta-Wet Palette.
 |
| Masterson Sta-Wet Palette - but keep reading for why I don't use the palette paper and what really keeps the acrylic paint wet. |
The Real Trick to Keeping the Paint Wet
Now, the Masterson Sta-Wet Palette on its own was great for my oil paints because I could attach lid at the end of my painting session and start again the next day with still-fresh paint.
But I found that acrylics were - as expected - less forgiving. I did have plenty of working space, but I also wanted my dabs of paint to stay wet all day, and although Masterson recommends using palette paper, which fits conveniently in the palette and can be torn off and thrown away, it doesn't extend the working time of my paint enough. And I didn't like how it felt to move and mix my acrylic paints around on a somewhat loose piece of paper. Again, I wanted to work more like I did when I was an oil painter.
In the super-informative book "Acrylics The Watercolor Alternative" by Charles Harrington, the author provides many useful tips for using acrylics like a watercolor. But there was one tip that particularly caught my eye and is not limited to just an acrylic watercolor artist.
Simply - it's a folded damp paper towel.
I thought it was too good to be true, but this is honestly the best tip I ever learned in my acrylic realist painting. I can place a folded damp paper towel to the left side of my Masterson palette and - this is the important part - put my dabs of acrylic paint directly on the paper towel. And they will stay wet all day, and usually overnight, even without putting the lid on the palette!
 |
| My palette set up for the day with a few of my colors on the damp paper towel. You'll notice there's also a color I mixed in a cup (see Mixing Acrylic Colors Part 1 on why I mix certain colors in cups with lids). A really helpful tip to keep these colors mixed in cups even longer is to scoop a bit of them out on to your palette for your painting session, then seal the cup back up and place it back in your ziplock bag. That way, you aren't keeping the container open and drying all day. |
Preparing the Paper Towel
I like to use three sheets of Bounty Select-a-Size paper towels. That seems to give me just the right amount of cushion to hold water and stay damp but not soaking.
 |
| Three sheets of Bounty Select-a-Size paper towels |
Fold the towels in half, in half again and in half again until you get a strip about two to two and half inches wide. Then run this under cold water. Hold it up with one hand, and place your index and middle finger from the other hand around the towel, and run them down to wring the towel out.
 |
Place the damp towel to one side of your palette. I find these paper towels fit pretty perfectly on the short side of my Masterson palette.


The Importance of Your Paint Choice
The type of acrylic paint you use is going to in part determine how successful this method is for you. Like I mentioned in previous posts, I prefer to use heavy body acrylic paints from M. Graham or Golden. These have no fillers, a higher pigment load, and they are, to me, more manipulable.
If you use liquid acrylics or a brand that is "puffier" with a lot of fillers, water and additives, this probably will not work for you because the paint will quickly dissipate into the damp paper towel.
Why I Love This Method - Working on the Palette and Cleaning It Up
What I love about this approach is it makes me feel like I did when I was an oil painter. My paints are wet all day. I get to mix many of my colors directly (except those I mix in the cups) and load my brush directly from my palette (it does stain just the plastic just a tiny bit, but I'm okay with that). I can easily control how much paint and water or medium I add, working in small, progressive swirls across my palette throughout the day.
 |
| My palette at the end of the day. |
Sometimes, especially if there is extra space on my palette and my paints are still wet, I do carry this setup over into a second day. But most days, I clean up and start from scratch.
While palette paper is probably simpler for some people, I really do like being able to work directly on my palette, I simply let this dry overnight, then clean it up the next morning.
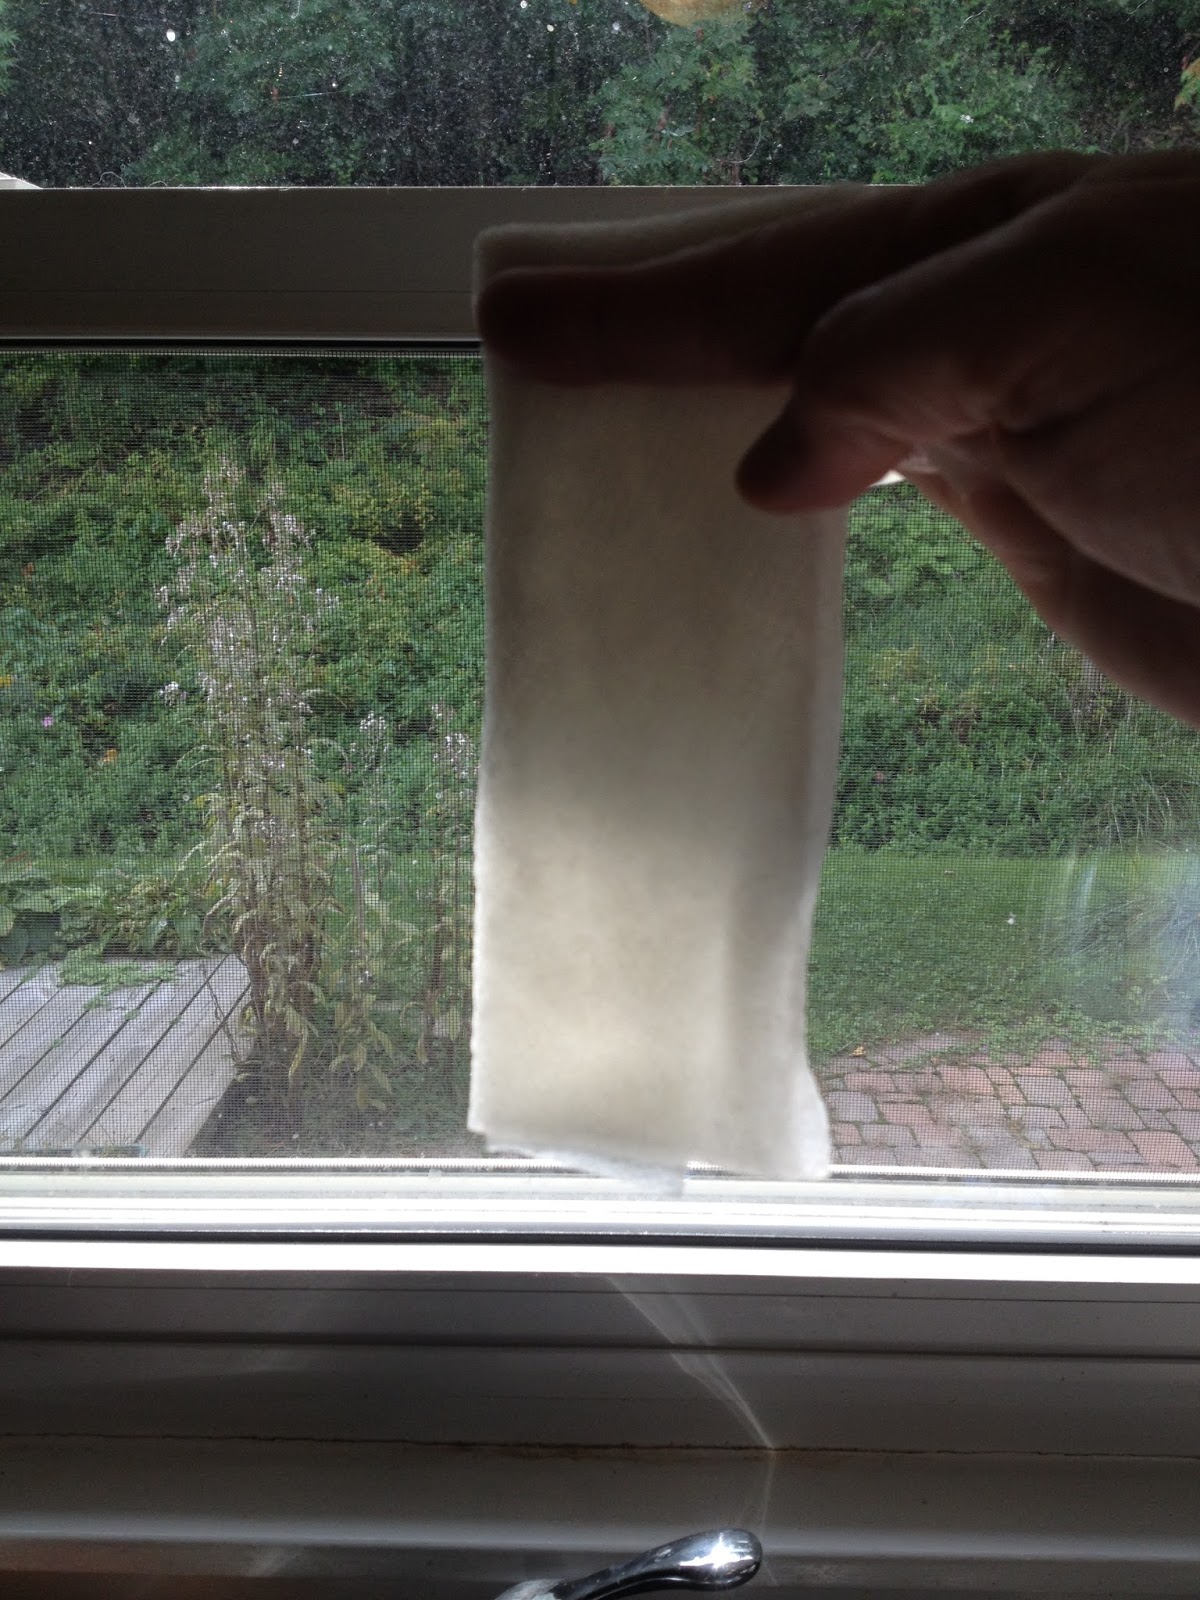
I toss the paint and damp paper towel, and then use a dry paper towel and my finger nail to scrape up the dry acrylic paint. This might sound tedious, but really, because the paint basically becomes a thin plastic film, it pulls up pretty easily once you get going, and I have a relatively clean palette when I'm done scraping. It takes me just a few minutes to scrape the whole thing.
 |
| Scraping the dry paint off the palette with a dry paper towel. |
To get any excess flakes, I use a damp paper towel to wipe it off, and I'm ready to start the day again.
What Your Favorite Tip?
I really hope this piece helps make your acrylic painting sessions a little more enjoyable. But remember, everyone's method is a little bit different, so this isn't the only way to do things! What's your favorite tip for working with acrylics? I want this blog to be a place where we can all learn from each other and share what we know, so we can all become better acrylic realist painters. So if you have a tip you'd like to share, or if you'd like to share a post about your process, email me at kimtestoneartist@gmail.com.
Happy Painting!


